

Every spring the same phone call comes in. A guy pulls the cover off a bike that ran fine in October, turns the key, and gets nothing but a click and a dim headlight. The battery sat for four months draining on its own, and now it is a brick. I have five bikes in my shop, a couple of project builds and the riders I keep alive, and I stopped losing batteries to storage years ago. The fix is not a fancier battery. It is a routine you do once in the fall and a small maintainer that does the watching all winter.
A stored motorcycle battery does not simply hold its charge. It self-discharges slowly on its own, and a modern bike with a clock, an alarm, or any parasitic drain pulls it down faster. A lead-acid battery left flat through the winter sulfates, which is a polite way of saying the plates go bad from the inside. By spring it will not take a full charge no matter what you do to it. The way around all of it is the Battery Tender Junior, a 12 volt 750 milliamp maintainer that tops the battery up and then holds it there without overcharging it. Let me walk you through the whole setup the way I do it on every bike in the shop.
Do your battery a favor this fall and it will start first kick in spring.
The Battery Tender Junior is the one I grab for a single bike or a whole shop full of them. Check today's price on Amazon and wire it into your storage routine.
Amazon Check Today's Price on Amazon →Step 1: Decide Whether the Battery Stays in the Bike
The first call is whether you leave the battery installed or pull it out for the winter. For most bikes I leave it in place and simply maintain it, because a maintained battery in the frame means the bike is one charge away from ready when the season turns. If your bike is parked somewhere there is no power, or you would rather store the battery on a bench, pull it out for the season. Either way the rules that follow are the same.
The one thing you do not want is to just let a battery sit all winter with no attention at all. Whether it stays bolted in the frame or sits on a shelf, an unattended lead-acid battery self-discharges, freezes when it gets low enough, and sulfates itself into early retirement. A battery that is stored charged and maintained will outlive one that is left to go flat every single winter. So make the call on where it lives, then wire it for continuous maintenance and stop worrying about it.
Before you do anything else, check the battery's state of charge with a multimeter or by looking at the acid level if it is a serviceable type. If the battery is anywhere near full, a maintainer is the right tool. If it is already dead flat, a 750 milliamp maintainer is too small to resurrect it on its own, and you need a real charger first. That is an important boundary. The Battery Tender Junior is built to keep a good battery good, not to bring a dead one back. Understand that going in and you will not be disappointed.
Step 2: Clean the Terminals Before Anything Else
Corrosion is the quiet killer of a winter hookup. White or green crust on the terminals makes a poor connection, and a poor connection is exactly what keeps a maintainer from doing its job, or worse, confuses it into thinking the battery is fine when it is not. Before you attach a single wire, pull the terminals and clean both the post and the cable lug down to bare metal.
A terminal brush or a bit of emery cloth is all it takes. Clean the post, clean the inside of the cable lug, and wipe away any loose residue so the metal is bright. Then a thin coat of dielectric grease on the post before you reconnect keeps corrosion from coming back over the long winter. This is a five minute job that costs nothing, and it is the difference between a maintainer that reads the battery correctly and one that fights a crusty connection all season.
While the terminals are off, it is a good moment to look at the battery itself. Check the case for any bulging or cracks, and if it is a flooded acid battery, top up the cells with distilled water to the correct level. Do not use tap water in a battery, that is a fast way to shorten its life. A battery that is healthy and clean going into storage is a battery that comes out of storage ready to run.
Step 3: Wire In a Permanent Ring-Terminal Harness
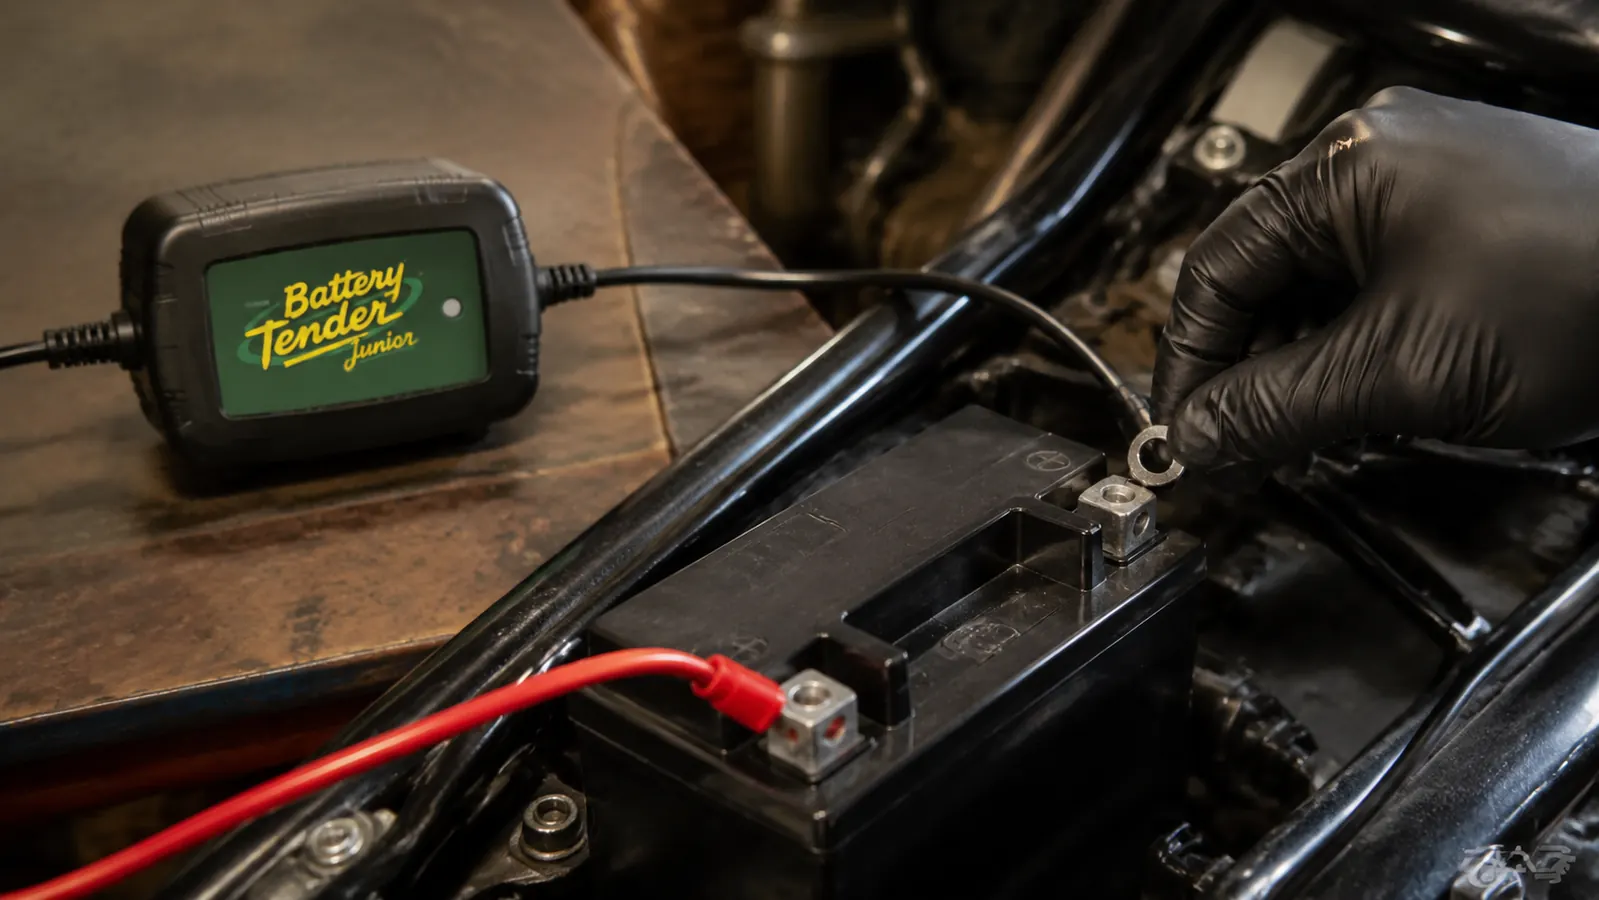
The smart move with the Battery Tender Junior is to leave the clamps in the box and use the ring-terminal harness that comes with it. The little eyelets slide over the battery posts and bolt down, which gives you a clean, permanent, vibration-proof connection. Once it is bolted in under the seat or side cover, you never have to touch the battery itself again all winter. That is the whole point.
Slide the ring end of the red lead over the positive post first, then the black lead over the negative post, and bolt both down snug. Route the two leads so they cannot touch anything sharp or chafe on the frame, and so the connector end sits where you can reach it. Run it out past the seat edge or through a small grommet so you can plug the maintainer in without taking the bodywork off. This is the same rig I use on all five bikes in the shop, and once it is set it takes about ten seconds to hook one up each fall.
The ring-terminal setup also means there is no risk of the alligator clamps working loose or shorting against a frame rail. On a motorcycle, space under the seat is tight, and a loose clamp is a fire hazard waiting to happen. Bolted eyelets remove that worry entirely. If your bike already has a battery maintainer harness from a previous unit, the connector matches the standard, so the same maintainer works with it.
Step 4: Hook It Up in the Right Order
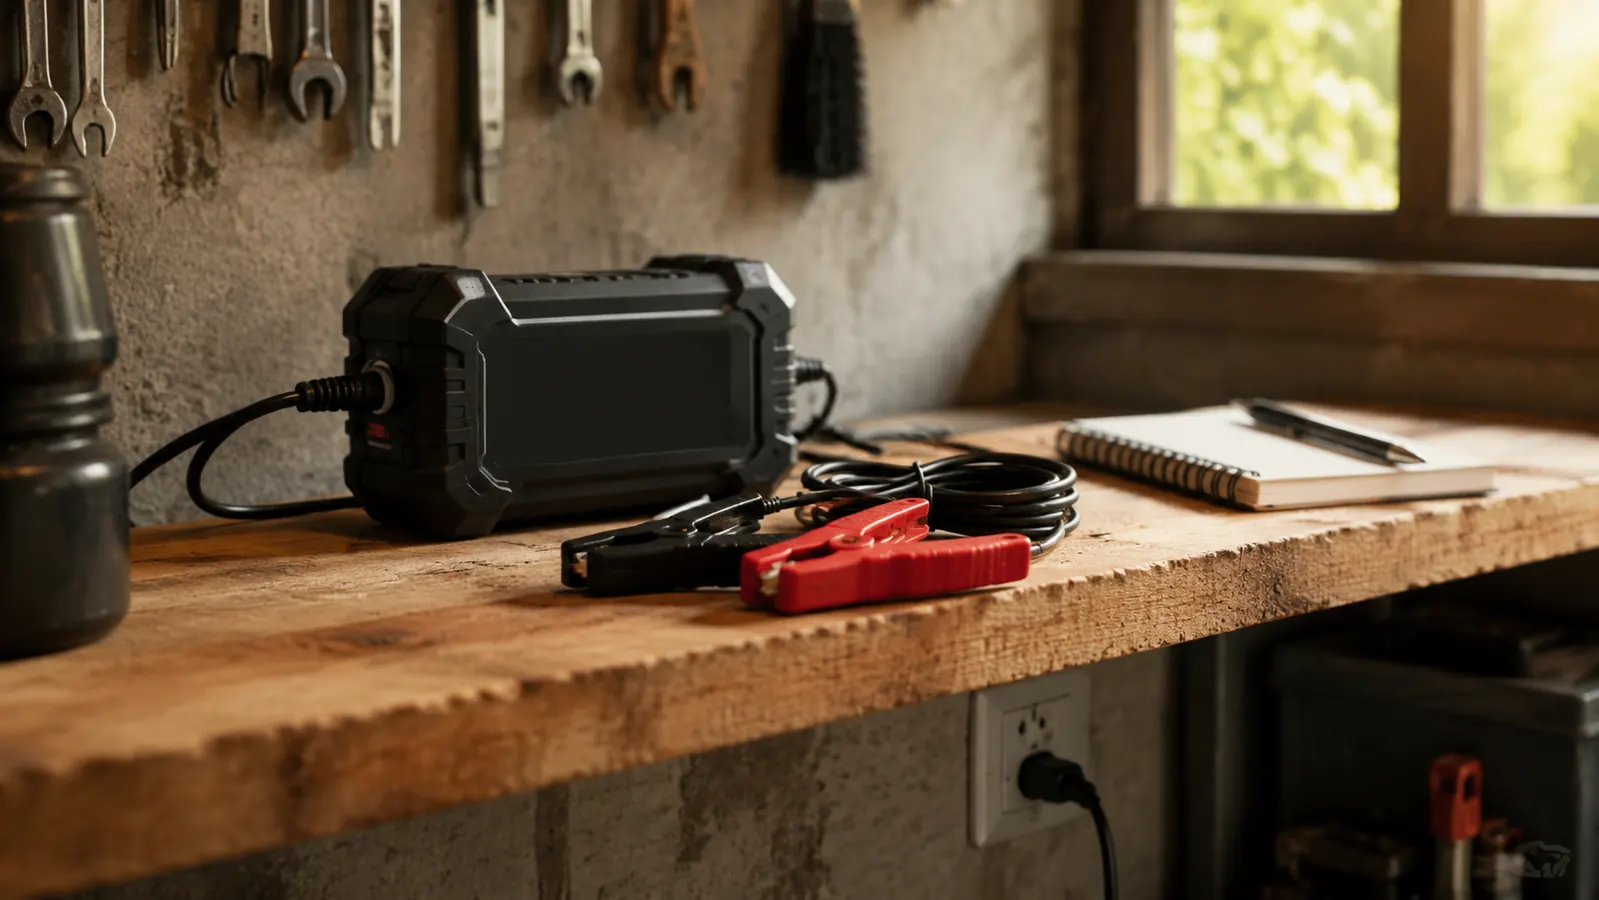
Hookup order matters, and it is worth being deliberate about it even if you have done it a hundred times. Connect the maintainer to the battery first, and connect the maintainer to the wall outlet last. When you disconnect in the spring, reverse it. Pull the wall plug first, then disconnect from the battery. The reasoning is simple. Connecting the battery first means there is no live charger sitting with bare leads while you fumble near the posts.
If you are pulling the battery out of the bike to store it on a bench, the rule still holds. Remove the negative cable from the battery first when you are taking it out of the frame, because that removes the ground and eliminates almost any chance of a wrench shorting across to the positive side. Then remove the positive cable. That order is the same whether you are pulling for storage or replacing the unit, and it is the habit that keeps you from welding a spanner to the frame in a moment of distraction.
With the harness bolted in, plugging the Battery Tender Junior in is the last step and it is anticlimactic by design. The unit reads the battery, tops it up if it needs it, and then drops into its float mode to hold the charge. The light tells you the story, a red light while it is charging and a green light once it is maintaining. Once it is green, the battery is being held at the right level and you can walk away for months.
Step 5: Check It Over Winter and Wake It Up in Spring
A maintainer is not a reason to never look at the bike again. Once a month or so I walk the row and give the maintainers a glance. A green light means the battery is holding steady and all is well. A red light, or an unplugged cord from a tripped breaker, means the battery has been running down and I want to catch that early rather than find it in April. A two minute check saves a lot of springtime cussing.
Come spring, the wake-up is as simple as the storage. Unplug the maintainer from the wall, then disconnect it from the battery harness, and put the bike together if you pulled any bodywork. Give the battery a quick look over, confirm the terminals are still clean, and fire it up. If the battery was maintained all winter, it should crank like it was ridden yesterday. That is the whole payoff, a bike that starts on the first try instead of a battery that needs replacing.
If the bike sat for months and the battery is a few years old, expect the maintainer to do its job but also be honest about the battery's age. Maintained batteries last longer, sometimes several years longer, but they do not last forever. A battery that will not hold a charge even after a full maintainer cycle is telling you it is done, and no amount of storage care will bring it back. Replacement is the move, and the same harness and maintainer will be ready for the new unit.
What Else Helps
The maintainer is the centerpiece, but a few extra habits make the whole storage season smoother. Keep the battery topped up to the correct level if it is a flooded unit, and store a removable battery indoors where the cold cannot reach it, since a fully charged battery is far more resistant to freezing than a half-flat one. Gas treated with stabilizer run through the system before storage keeps the fuel from gumming, and that is a separate job, but it pairs naturally with a winter battery routine.
If you have more than one bike, or a bike and a truck and a riding mower, the same Battery Tender Junior can serve them all because the ring-terminal harnesses are cheap and the connector is standard. You buy the maintainer once and a spare harness for each machine, then move the single unit between them as needed. That is how I keep five bikes ready with a tiny footprint of hardware on the shelf.
A maintained battery that stays charged through the winter is the difference between a first-kick start in April and a trip to the parts store for a replacement you did not plan on buying.
Why a Maintainer Beats a Trickle Charger
The old-school approach was to leave a plain trickle charger on the battery all winter, and a lot of batteries died that way. A from-the-wall trickle charger keeps pushing current no matter what, so a fully charged battery just sits there getting cooked, losing water and damaging its plates over a whole season. That is why the Battery Tender Junior is sold as smarter than a trickle charger, and the difference is real.
The maintainer senses the battery's state and switches between charging and holding on its own. When the battery needs a top-up, it pushes its 750 milliamps to bring it back. When it is full, it drops into float mode and holds the level without overcharging. That automatic behavior is what makes it safe to leave connected for months at a time, and it is the reason you can hook it up in October and not think about it again until the snow clears.
Set the battery routine once and stop losing bikes to a dead battery every spring.
Twenty minutes of setup and a Battery Tender Junior on the bench is all it takes to end dead-battery season for good. Check today's price on Amazon and wire your shop up for winter.
Amazon Check Today's Price on Amazon →