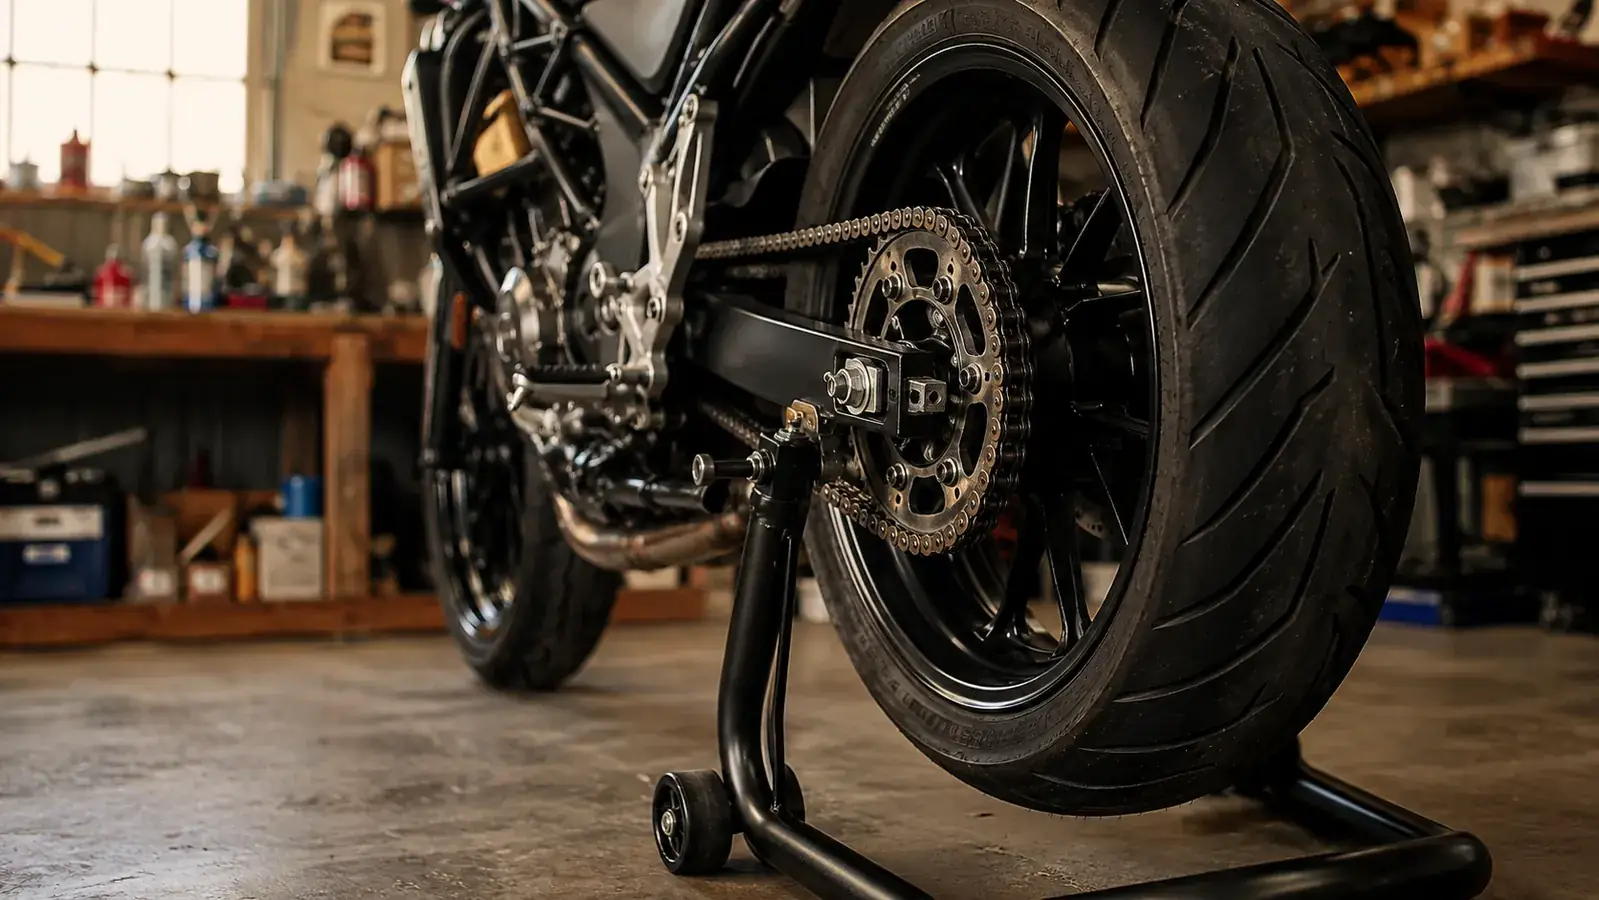
You already know the bike needs a clean chain. The gap is that most clean-and-lube jobs you see on video are wrong in the same two ways. They spray the outside of the chain and call it lubed, and they do it with the bike on the side stand so half the chain is unreachable and the wheel is pinched against the ground. I clean probably a dozen chains a season, on my own builds and on the bikes that roll through my garage for friends. The version I run starts with the rear wheel off the ground and spinning free. It takes about fifteen minutes once you have the right setup, and the chain actually comes out clean.
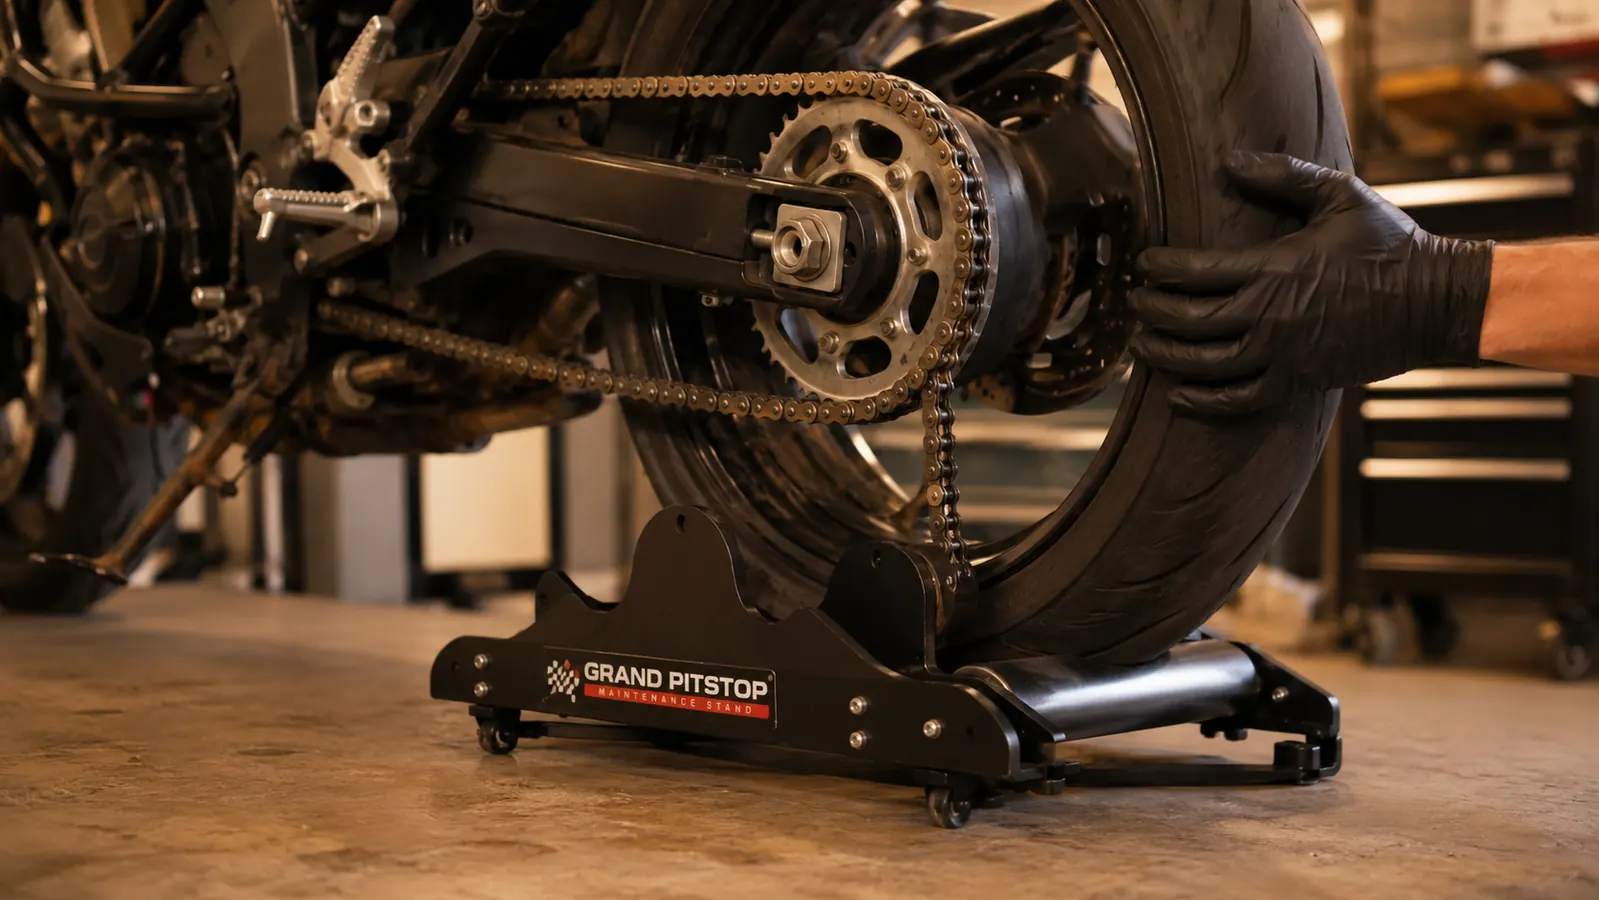
The centerpiece of my routine is a roller maintenance stand. I use the GRAND PITSTOP Groller, the big one rated under 600 lb with a tire width ceiling under 240 mm. It rolls the rear wheel up between two padded cradles, lifts it just clear of the floor, and lets the wheel spin free so I can turn it by hand and reach the whole chain without dragging my knuckles. If you clean a chain more than twice a year, this is the cheap piece of hardware that makes the job worth doing at all. Budget around 30 bucks for it and you are set for the season. Here is the whole process, step by step.
The stand that ends the knee-and-side-stand chain cleaning
The GRAND PITSTOP Groller holds the rear wheel off the floor and spins it free, so every roller gets reached instead of the two feet of chain you can see. That is the piece that turns this whole job from a half-hour crouch into a fifteen minute chore.
Amazon Check Today's Price on Amazon →Step 1: Get the rear wheel off the ground and spinning free
Do this before you touch the chain. The whole point of the stand is that the wheel turns freely so you can rotate it by hand and reach every single roller. On the GRAND PITSTOP Groller, you set the two arms wide enough to clear the tire, roll the bike forward until the rear axle sits in the padded cradles, and let the weight of the bike settle. The wheel comes up off the concrete and the bottom of the tire hangs just above the floor. Give the wheel a spin. It should turn free with no rubbing.
If you do not have a roller stand, a rear spool stand works as long as your swingarm has spools. The roller stand is nicer here because it grabs the tire rather than the spools, so it works on a wider range of bikes and leaves the swingarm clear. What you cannot do is run this routine with the bike on the sidestand, because the rear wheel is planted on the ground and you can only reach the bottom run of chain. You would end up cleaning one third of it and calling it done.
Before you ride up onto the stand, put the transmission in neutral and make sure the bike is stable. Chock the front wheel or put it against a bench so it cannot roll forward off the arms. A bike that tips on a stand is a bad afternoon, and it is entirely avoidable by taking the thirty seconds to make sure it is settled and level.
Step 2: Find the master link and look the chain over
While the wheel is free, spin it by hand and find the master link. It is the link with a clip or a rivet head that looks different from the rest of the chain. On most OEM and budget chains it is a clip-style master link you can see as a small opening in the outer plate. Knowing where it is matters for two reasons. First, whatever you are cleaning lands on that link last and gets wiped cleanest. Second, that is the one link that can back out, so it is the one to check for a worn clip while you are in there.
Rotate the wheel slowly and run your hand across the top run of chain as it comes off the front sprocket. Feel for tight links, where one section does not flex as freely as the ones around it, and for any links with side plates that look shiny or worn from rubbing. A stiff link you can normally work loose with lube and careful flexing before it hardens into a permanent tight spot. If you find a section that is genuinely kinked and will not free up, that is worth replacing before it starts throwing the chain.
Also glance at the sprocket teeth while the wheel is off the ground. Worn hooks on the rear sprocket tell you the whole driveline is near the end of its life, and no amount of clean-and-lube fixes that. Catching it now is the cheap version; catching it after it eats a fresh chain is the expensive one.
Step 3: Clean the chain, not the outside of the chain
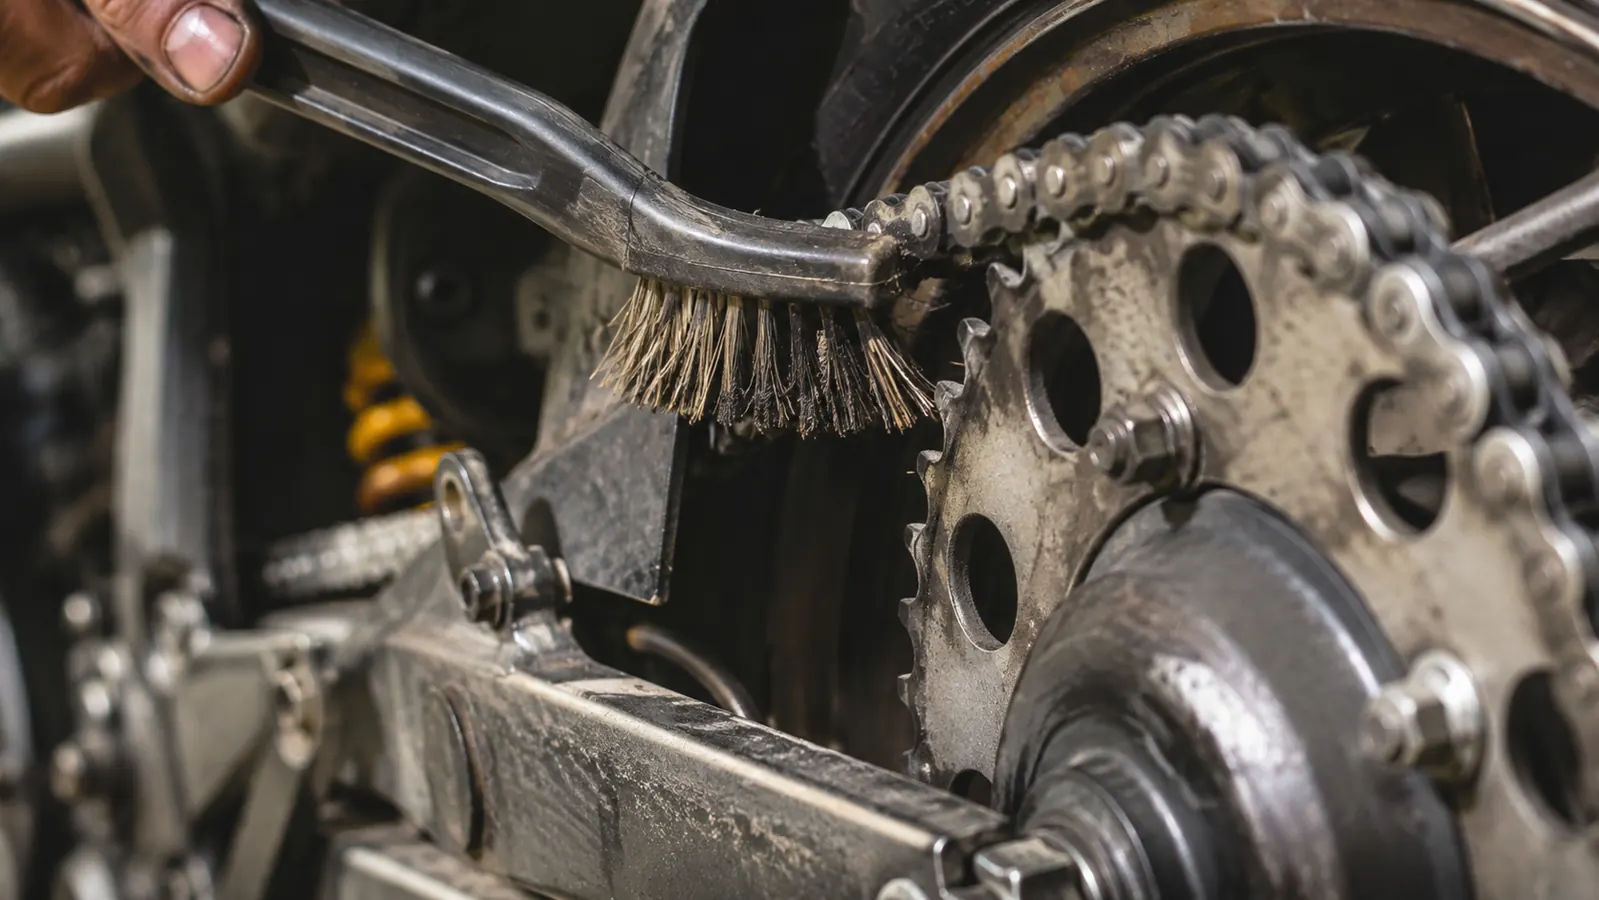
Here is where most people do the job wrong. They spray degreaser all over the outside of the chain, scrub the side plates, wipe it, and call it clean. The grit that wears a chain out lives down between the rollers and the pins, not on the visible outside. So you have to work the cleaner into the moving parts and turn the wheel so every link passes through it.
Pick a solvent and a brush. Kerosene or a proper chain cleaner in a spray can both work. For a garage, an old toothbrush or a stiff nylon brush is the right tool, and for heavy grime a chain-cleaning tool with three bristle wheels that clamp around the chain is worth the money if you do this often. Spin the rear wheel by hand and run the brush into the chain where it comes off the rear sprocket, letting the rotation pull each link through the bristles. Work the brush sideways to get into the gaps between the side plates and the roller, not just flat against the outside.
Keep the solvent off the paint and the brake rotor. The rear brake rotor on this side of the bike sits right next to the sprocket, and chain cleaner will melt its way onto the pads if you are careless. A quick wrap of shop towel around the rotor or a steady hand keeps you from turning a fifteen minute job into a brake job. Once you have gone around the full chain once or twice, wipe the chain down with a clean rag and turn it one more time to chase any solvent out of the pins.
Step 4: Lube every roller, not the visible outside
A dry chain is a toast chain, so the lube step is not optional. The trick is where you put it. You want the lube on the rollers and worked down into the pins, which means applying it to the inner run of the chain where it is slack, or to the bottom run, then turning the wheel so it gets pulled through the sprocket. Spraying just the outside and leaving it is how you get a greasy chain that is still dry inside.
Pick a chain lube that matches how you ride. For a chain that sits in a garage and sees the occasional ride, a standard spray-on chain lube in a can is fine. If you ride in rain or dirt, you want a heavier tacky lube that does not fling off. Apply it to each link as the wheel turns, so you cover the full length, and let it sit ten minutes to settle into the pins. Then give the whole thing one more turn by hand so the lube works its way all the way around.
This is also the moment to think about how the chain rides on the sprockets. While you are turning the wheel, watch the chain track on the rear sprocket. It should sit centered and quiet. If it is riding hard against one side plate or jumping, that is a tension or alignment problem that needs fixing before you add lube, because the lube will not save a chain that is being pulled sideways.
Step 5: Wipe the excess, set the tension, and do the final check
The last step is the one that separates a careful job from a sloppy one. After the lube has settled, wipe the outside of the chain with a clean rag and pull the wheel forward one more time to chase any excess off. You want the visible side plates mostly dry and the grease carried down into the pins. A chain that looks wet and shiny on the outside is a chain that is flinging its lube off onto your wheel and swingarm, not one that is protected.
Then set the tension. With the wheel up off the ground, check the slack at the middle of the bottom run. Your owners manual gives the number, usually an inch to an inch and a half of up-and-down play on a standard road bike. Too tight wears the chain and sprockets fast, too loose slaps and can come off under load. Adjust at the axle, checking both sides stay even so the wheel stays true. Torque the axle nut back to spec with a click wrench and re-check the slack, because tightening the axle can pull it tighter than you set it.
Once the tension is right, stand the bike back down off the stand and take one last look at the chain where it goes around the rear sprocket. It should sit centered and the whole wheel should spin smooth. That is the job. Roll the stand back out of the way and you are done until the chain starts to look chalky or the daily rider picks up road grime again, which on my bikes is somewhere between three and five hundred miles.
What Else Helps
A couple of supporting pieces make this routine faster the first time you run it. A rear spool stand or the GRAND PITSTOP roller handles the lifting, and I already covered that, but a chain-cleaning tool with brush wheels cuts the scrubbing time in half if you deal with heavy dirt. A good torque wrench is worth having for the axle nut, because guessing at the axle torque is how wheels end up crooked. And a soft rag you do not care about handles the wipe-down, because chain lube is not kind to a good shop towel.
The one thing I would not spend money on is a fancy electric chain cleaner. The stand, a spray can of solvent, a brush, and your own hand do the same job for a fraction of the price. The hardware that matters, the piece that changes the whole job, is the stand that gets the wheel off the ground. Everything else is basic shop stuff you already own.
The grit that wears a chain out lives down between the rollers and the pins. Spray the outside and you have a greasy chain that is still dry inside.
Start with the stand and the job changes overnight
The GRAND PITSTOP Groller lifts the rear wheel and spins it free, so the clean-and-lube reaches every roller in about fifteen minutes. It is the single piece of hardware that turned chain maintenance from a chore I skipped into one I do weekly.
Amazon Check Today's Price on Amazon →